Full stack web development in a single Java file: An intro to Javalin and htmx
11 Jun 2023
Introduction
In my programming career, I have used a wide variety of frontend frameworks. From JQuery and Angularjs (not Angular!). To Vue and React.
A common theme with these was a SPA (Single Page Application) architecture. The server would respond with JSON, the frontend would parse it, do some javascript-y things, and ultimately render as html on the page.
But this isn’t cool anymore! There has been a trend towards moving rendering to the server, demonstrated by technologies like Next.js and React Server Components.
But did you know that a server can just respond with plain old HTML, without needing to refresh the whole page and not needing a complicated frontend framework to achieve this?
Enter: htmx.
htmx is a very basic frontend library, that operates based on special hx-* attributes on HTML elements.
An example of this is the following (ripped straight off htmx’s homepage):
  <button hx-post="/clicked" hx-swap="outerHTML">
    Click Me
  </button>
This can be described as: “When this button is clicked, make a POST request to /clicked and replace the button with the HTML response”.
Basically, all of htmx revolves around:
- Waiting for some sort of trigger (e.g. clicking a button, submitting a form, typing in a field)
- Making a request to the server
- Replacing an element on the page with the HTML response.
This is a simple, but powerful paradigm.
It simplifies frontend devlopment, making it easy to learn and maintain, without the need for complex frontend build tools.
In the blog post, I will describe a Java web app stack using:
to enable fast and simple web app development. I will explain what each part of the stack does, and how we can put it all together to build a simple counter app in a single Java file!
Dependencies
If you are using Maven, here’s the list of dependencies that you can chuck in your pom.xml file.
Don’t worry, this blog post will explain what each of them does!
<!-- Place the below in the <dependencies> section of your pom.xml -->
<dependency>
    <groupId>com.j2html</groupId>
    <artifactId>j2html</artifactId>
    <version>1.6.0</version>
</dependency>
<dependency>
    <groupId>io.javalin</groupId>
    <artifactId>javalin</artifactId>
    <version>5.5.0</version>
</dependency>
<dependency>
    <groupId>org.webjars.npm</groupId>
    <artifactId>htmx.org</artifactId>
    <version>1.9.2</version>
</dependency>
<!-- Defining a logger as Javalin will complain if there is no SL4J logger -->
<dependency>
    <groupId>org.slf4j</groupId>
    <artifactId>slf4j-api</artifactId>
    <version>2.0.5</version>
</dependency>
<dependency>
    <groupId>org.slf4j</groupId>
    <artifactId>slf4j-reload4j</artifactId>
    <version>2.0.5</version>
</dependency>
Server side HTML with j2html
A way to generate HTML in Java is to use a templating engine like Thymeleaf. However, this means the template files are outside Java, and as the blog title suggests, we want everything in Java!
A nice alternative to a templating engine is j2html.
j2html is a Java library that allows us to build HTML in a fluent and typesafe manner. If you know HTML, you know j2html!
import static j2html.TagCreator.*;

public class Main
  public static void main(String[] args) {
    // Fluently build a HTML structure.
    var content = html(
      body(
        h1("Hello World!")
      )
    );

    // Let's render that HTML!
    System.out.println(content.render());
  }
}
Output:
<html><body><h1>Hello world</h1></body></html>
Now, let’s serve that html through a sever. We can do that using Javalin.
Handling requests with Javalin
According to https://javalin.io/, Javalin is a simple web framework for Java and Kotlin. I agree!
I feel like it is very similar to the Express framework for Node.js. For instance, the following Express code:
// Using Express as an example.
const express = require('express')
const app = express()
const port = 3000

app.get('/', (req, res) => {
  res.send('Hello World!')
})
app.listen()
Is the same as the following Javalin code:
import io.javalin.Javalin;

public class Main {
  public static void main(String[] args) {
    var app = Javalin.create()
            .get("/", ctx -> ctx.result("Hello World"))
            .start();
    }
}
Now let’s combine j2html and Javalin.
We can use Javalin’s Context#html to allow the server to respond with HTML.
import io.javalin.Javalin;
import static j2html.TagCreator.*;

public static void main(String[] args) {
  // Create a new Javalin instance.
  // By default it will run on port 8080, but can be changed.
  var javalin = Javalin.create();

  // Handle a GET request to the path "/".
  javalin.get("/", ctx -> {
    // Build the HTML, and render it.
    var content = html(
            body(
              h1("Hello world")
            )
    );
    // We prefix with the doctype to ensure the browser does not use quirks mode.
    // https://developer.mozilla.org/en-US/docs/Web/HTML/Quirks_Mode_and_Standards_Mode
    var rendered = "<!DOCTYPE html>\n" + content.render();

    // Return the html in the response.
    ctx.html(rendered);
  });

  javalin.start();
}
If we run this, we will see some output in the console.
 INFO [main] (JavalinLogger.kt:16) - Listening on http://localhost:8080/
 INFO [main] (JavalinLogger.kt:16) - You are running Javalin 5.5.0 (released May 1, 2023).
 INFO [main] (JavalinLogger.kt:16) - Javalin started in 273ms \o/
Once you see the “Javalin” started command, we can put in the url http://localhost:8080 into a
browser. This should show something like this:
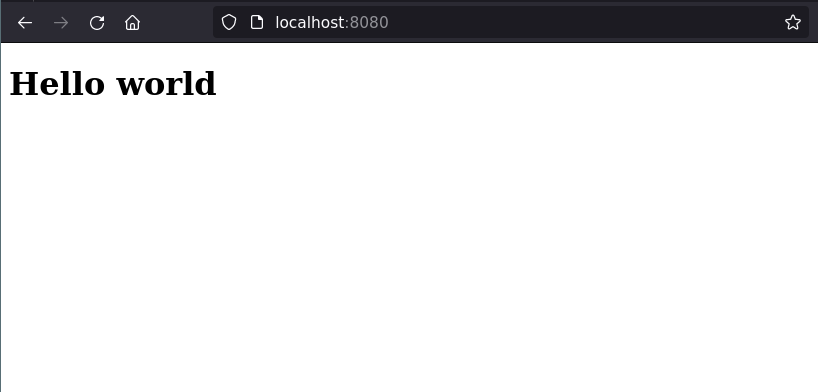
Isn’t it beautiful?
Interactivity with htmx
Lastly, lets add some interactivity with htmx!
To add htmx to our project, we can add it as a WebJar. A WebJar is basically just a way to manage Javascript dependencies using standard Java build tools, like Maven or Gradle.
<!-- Was in the dependencies at the top of this blog post, but putting
     here in case you forgot! -->
<dependency>
    <groupId>org.webjars.npm</groupId>
    <artifactId>htmx.org</artifactId>
    <version>1.9.2</version>
</dependency>
To use this, we need to:
- Enable WebJar support in Javalin.
- Include it in our
<head>element of our HTML.
public static void main(String[] args) {
  var javalin = Javalin.create(config -> {
    // Enable WebJar support.
    config.staticFiles.enableWebJars();
  });

  javalin.get("/", ctx -> {
    var content = html(
            head(
              // The WebJars path follows the format:
              // /webjars/<artifactId>/<version>/<path-to-file>
              // We can find the <path-to-file> via npmjs.com 'Code' view.
              // For instance: https://www.npmjs.com/package/htmx.org?activeTab=code
              script().withSrc("/webjars/htmx.org/1.9.2/dist/htmx.min.js")
            ),
            body(
              h1("Hello world")
            )
        );
    var rendered = "<!DOCTYPE html>\n" + content.render();

    ctx.html(rendered);
  });

  javalin.start();
}
Now, let’s start actually using htmx! For this example, we’ll create a simple counter app. It will show a number, that can be incremented by pressing a button.
Firstly, let’s create a method that produces the HTML for the count. This will make a bit more sense later on.
  // Create a H2 tag with an id.
  private H2Tag createCounterElement(int count) {
    return h2("count: " + count)
        .withId("counter");
  }
Next, we need a way to store the count on the server.
The easiest way is to use an AtomicInteger.
We can use this count and the createCounter method we created before in the handler we have:
  public static void main() {
    var count = new AtomicInteger();
    javalin.get("/", ctx -> {
      var content = html(
          head(
              script().withSrc("/webjars/htmx.org/1.9.2/dist/htmx.min.js")
          ), (
              body(
                  h1("Hello world"),
                  createCounterElement(count.get())
              )
          )
      );
      var rendered = "<!DOCTYPE html>\n" + content.render();
      ctx.html(rendered);
    });
  }
We then need a way for the server to increment this counter. We can do this by defining a new handler on our server.
Let’s make it accept POST requests on the path /increment.
It will increment the count on the server and return only the html for the counter element.
This is where that createCounterElement method is useful!
    javalin.post("/increment", ctx -> {
      var newCounter = createCounterElement(count.incrementAndGet());
      ctx.html(newCounter.render());
    });
Lastly, and most importantly, we now use htmx to call this increment handler, and swap out the
relevant counter element on the screen.
To do so, we can define a button with special hx-* attributes like so:
button("Increment")
  .attr("hx-post", "/increment")
  .attr("hx-target", "#counter")
  .attr("hx-swap", "outerHTML")
To explain each attribute:
- hx-post: When clicked, make a
POSTrequest to the/incrementpath. - hx-target: Swap the element with the id
counter. - hx-swap: Using
outerHTMLmeans htmx will swap the entire html of the counter element.
Putting all the code we have together, we should have something that looks like the following:
  public static void main(String[] args) {
    var javalin = Javalin.create(config -> {
          config.staticFiles.enableWebjars();
        }
    );

    var counter = new AtomicInteger();
    javalin.get("/", ctx -> {
      var content = html(
          head(
              script().withSrc("/webjars/htmx.org/1.9.2/dist/htmx.min.js")
          ), (
              body(
                  h1("Hello world"),
                  createCounter(counter.get()),
                  button("Increment")
                      .attr("hx-post", "/increment")
                      .attr("hx-swap", "outerHTML")
                      .attr("hx-target", "#counter")
              )
          )
      );
      var rendered = "<!DOCTYPE html>\n" + content.render();
      ctx.html(rendered);
    });

    javalin.post("/increment", ctx -> {
      var newCounter = createCounter(counter.incrementAndGet());
      ctx.html(newCounter.render());
    });
  }

  private static H2Tag createCounterElement(int count) {
    return h2("count: " + count)
        .withId("counter");
  }
If we run the code, we should see something like the following:
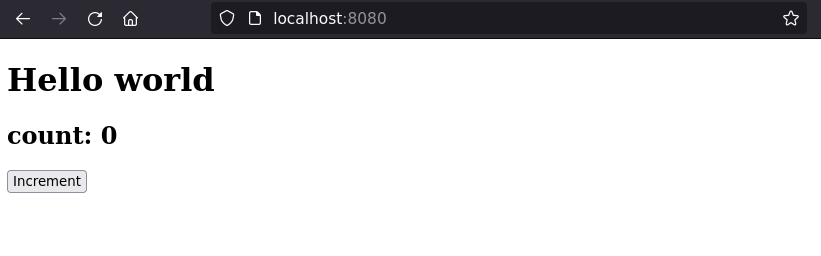
Now press ‘increment’ and see what happens!
(Spoilers: the number should increment!)
If we have the network tab open, we can see the request to /increment, with the html being
returned.

The counter will persist even if you refresh the page, as the number is stored on the server!
The End?
I hope you have enjoyed learning a bit about Javalin, j2html and htmx!
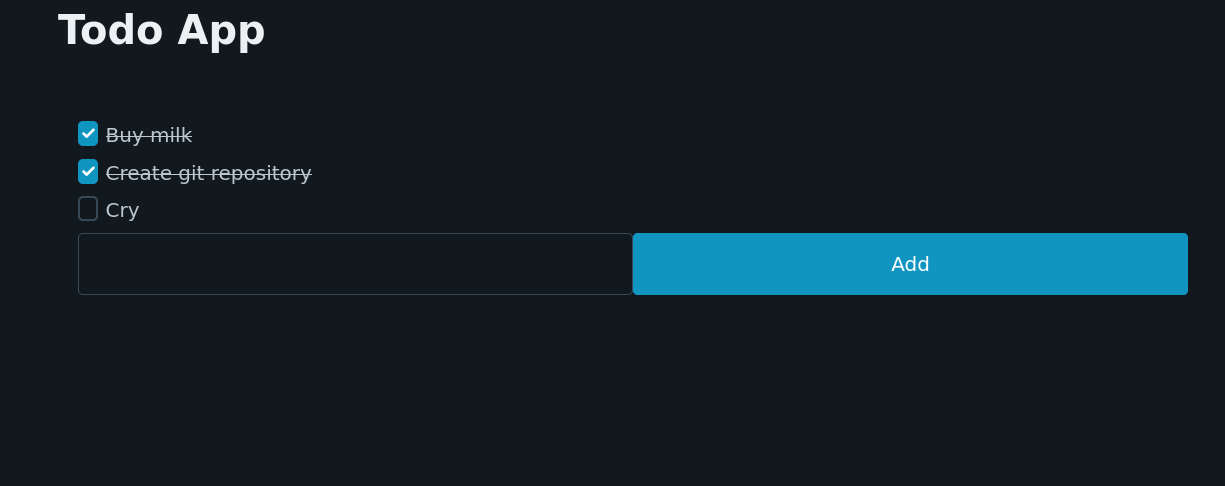
If you want to see see an example of a todo app using Javalin, you can have a look at this github repository: java-htmx-todo